Tuesday, June 1, 2021

Masculine birthday - Scrapmatts

Hi

This month I've been re-stocking my card, particularly birthday card stash. I came across this masculine paper range and paired it with some of my masculine Scrapmatts chipboard


I left some of the chipboard in the raw and other pieces I just simply inked with pinecone ink

I have layered both the papers with a combination of glue, double sided tape and foam tape. I have been asked on a number occasions what envelope I use for my dimensional cards, I don't. I like to wrap the present that it's going with, with brown paper, twine, ribbon, tulle etc and then use the card as the focal point.

Below are the chipboard packs that in have used on my cards, they can be found at 


Thank you for spending time with me again this month 

Heather
Xxox


Zentangling - Scrapmatts

Good morning

This month I've had my art journal out, like a lot of us crafty people I've been doing some online classes (in between working full time), so when I saw this new Scrapmatts stencil I knew exactly what I wanted to do with it - Zentangling

Zentangle is a form of medatative doodling that has patterns, or tangles, put together to form a Zen-Tangle

These patterns are drawn on small pieces of paper called "tiles". It is non-representational and unplanned so you can focus on each stroke and not worry about the result


To start with I traced the stencil into my journal with a pencil, then I painted in the lines using black gesso and a fine paint brush.
The Zentangles are done using different size black felt tip pens

And because I love my flowers, I have softened the page by using and layering these flower stamps

The chipboard and some of the smaller sections of the stencil are coloured simply with a copper sharpy marker


#9082 

#CB6105 


Also to balance out my current working from home arrangement over the past 5 months, I have been participating in some monthly facebook challenges. This layout was done for a sketch challenge, and I had the perfect Scrapmatts chipboard to compliment it, so thought that I would share it with you

The film strip chipboard have been cut and layered to give extra dimension

The title has had a layer of purple wax over the top to help it stand out more on the page

I have to say, the photo is one that a friend of mine shared on facebook, and I love it, I can just sit and get lost in it


#CT041PicturePerfect 

#CB1232FilmStrips05 

Can I encourage you, if you are a bit stuck for something to do, google "zentangle ideas", its super easy, you don't need to be able to draw, I can't. You can sit in front of the tv or your favourite movie and do it. You can do it in your journal, or on cardstock so you can use on a card, or a feature piece for a scrapbook page. You can add handwritten words into it, or if like me your handwriting is getting worse as we get older, grab yourself some Scrapmatts words to add to your project

Thanks for spending time with me again this month

Heather
xxox


Lots of layers & a beautiful niece - Scrapmatts

Good morning This month I did this layout using this beautiful photo of my beautiful niece. I used the Scrapmatts stencils in the background using texture pastes. Then fussy cut and layered the papers to match my photo. I left the Scrapmatts chipboard pieces in the raw this time so that they stood out rather than blending into the background To finish it off I added a few bling squares and covered some of the fussy cut pink flowers with glossy accents

Going Safari

Hi I loved the clash of cogs, floral and safari in these papers in this page. It seemed to balance out the photo well of my friend and her 2 boys Ive done a little bit of stencilling in the background just using ink, a sponge and the stencil. The papers were just screaming to be fussy cut and layered, which is just perfect for me. The chipboard was simply inked with a few different shades of brow and a couple of the pieces were finished with glossy accents.

Simple and Elegant - Scrapmatts

Hi all This month I have done 2 projects. The first is a simple layout that I've layered fussy cut flowers with the very delicate chipboard which I gave 3 layers of gold embossing powder.
My second project is a shaker Christmas ornament. I have simply given each piece a couple of layers of gold embossing. The inside background is covered with a soft Christmas paper. The whole piece is assembled using strong clear dryig glue
Thank you for spending time with me again this month. Heather

2 Blue projects - Scrapmatts

HI all Well first of all, Merry Christmas, I all hope that you were all just a little bit spoilt this year. I have done 2 projects this month from the same paper pack. The first is a layout that I have used a Scrapmatts stencil and texture paste in the background. Then have added some Scrapmatts chipboard pieces as accents. Some I have painted blue, then finished with either waxes or glossy accents, other pieces I have left in the raw.
My second project is an altered frame. The frame was one that I had at home and I altered using painted, ultra thick embossing powder, a rubber stamp and some waxes. I have then fussy cut and layered lots of flowers and birtds on one side. The chipboard pieces have been simply painted with either blue or white paint and tucked in to finish of my project. The white chipboard pieces were branches on a chipboard tree that I have cut off and tucked in.
This is the stencil that I have used in the background of the scrapbook page:
Below are the chipboard pack that I have used:
I hope that you all have an amazing new year. See you in 2021. Heather

A bit darker this time - Scrapmatts

Good morning all This month my layout is a bit darker than I usually do, but have to admit, I quite like the end product. 
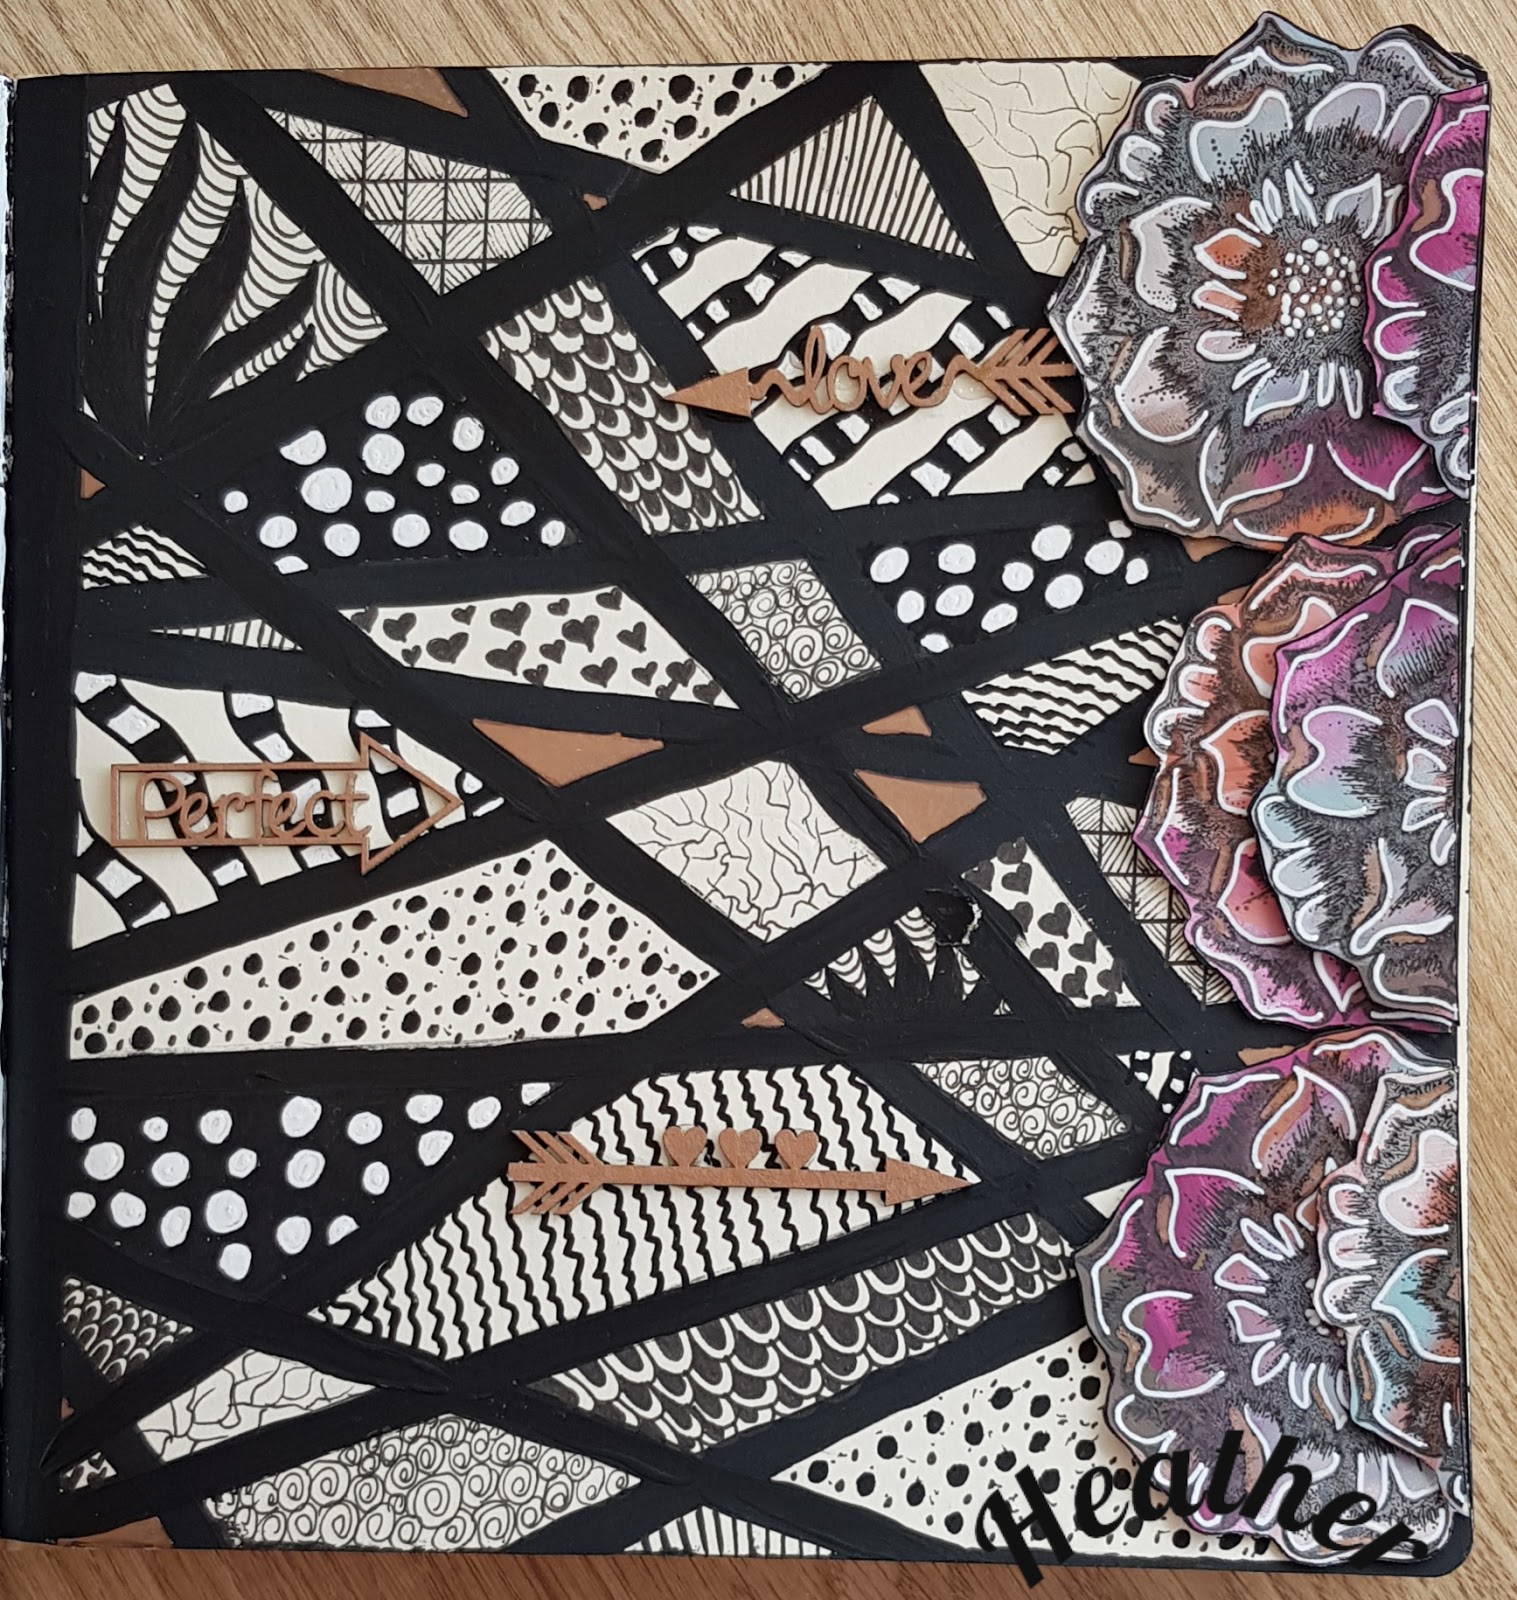
I have also made the stencilling and the chipboard the main focus rather than choosing chipboard to suite my project.
I started by choosing this photo that I got from a free image site I found on google (sorry I can't remember which one to credit the photograper), then used the stencil and texture paste on the left side. I then gently sprayed some shimmer spray over the top of the whole page just to soften the black a little I then fussy cut the flowers and layed them so that they kind of look like wings for the photo. Under some of the flower I cut little pieces of the lace and glued underneather the tip of the flower
The chipboard was all donne with embossing powder, the frame (I love this frame!!) I just used black embossing powder. I was going to do 2 layers, but I liked that in some places you could see through to the natural chipboard, Te butterflies were done with a Lindys Desert Moon Turquoise, which is a shimmery sheer coverage which I really liked as it gives a sense of movement for the butterflies as the page moves.
The title, I will have to admit my hubby sent me to our local $2 shop to get some Mason jars for jam he was making, and I couldn't resist walking through their craft section and I found these little bags of scrabble tiles. Below are the Scrapmatts products that I have used that you can get at
Thank you again to those who are following Scrapmatts and their blog, I hope that I have given you a couple of ideas to go away and play with and add into your own projects. Heather

Copictopia Creative Design Team - New Arrival Stamp Set

   Good morning all. I'm very excited to share my very first project for Copictopia Creative's Design Team. They are a relatively ne...