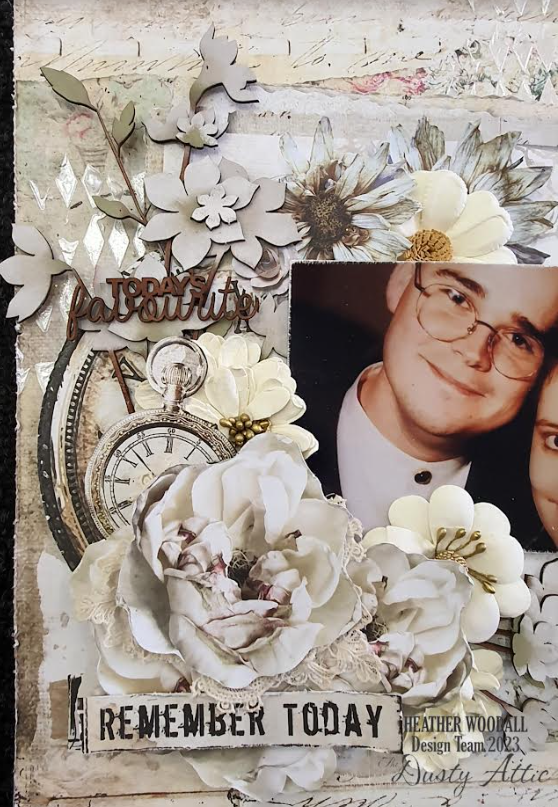
Wednesday, April 19, 2023

Floral Clock - Dusty Attic Design Team

 Good morning

This time I decided to do something other than a scrapbook page. I've had this clock for a little while so thought it would be a great base for these really beautiful papers and chipboard pieces.


I started by taking the mechanism off the clock


I then chose my base page, and traced around the clock onto it and cut it out

To attach the paper to my page I used Stamperia Mixed Media Glue


Once dry I then gave it a layer Collage Medium to seal it


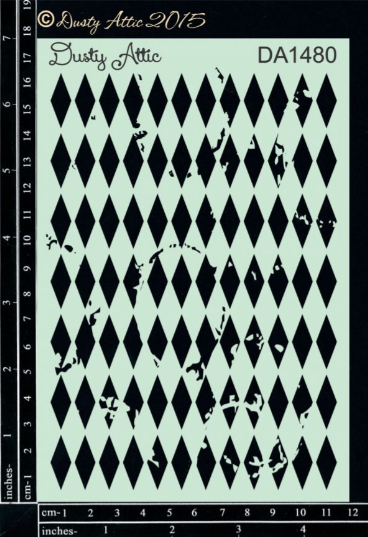
I then used Dusty Attic Stencil DA1757 Clockworks #2 and some Light and Fluffy texture paste on the background of the clock


I then heat dried the texture paste and gently applied some Prima Wax over the top


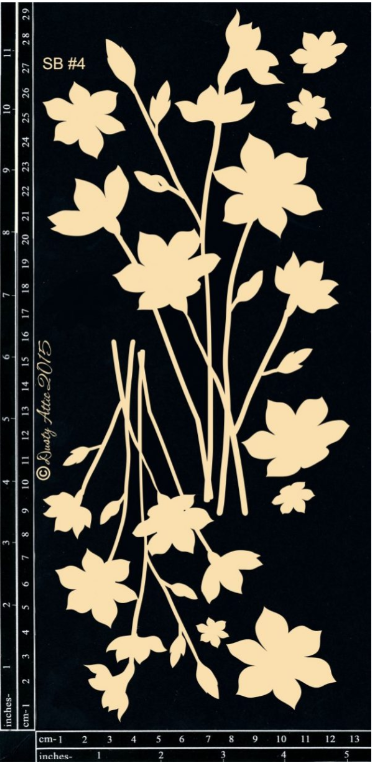
I then prepared the chipboard pieces that I needed for this project. From the DA2245 Twisted Iron #2 I just used 4 pieces off it to have as the marking points for 12 o'clock, 3 o'clock, 6 o'clock and 9 o'clock. The pieces were painted using Paperartsy paints and the Twisted Iron pieces also had some wax applied over the top. These pieces were then attached to the clock at 12, 3, 6, and 9 o'clock using clear drying glue


I then fussy cut out the other elements that I wanted to use from the paper pack and attached to the clock using a combination of glue and foam tape, remembering to keep the height below the hands so that they are able to turn. 

Once these was done I then attached the Mystic Flourish chipboard pieces to the clock using clear drying glue


All of the chipboard pieces can be purchased at https://dustyattic.com.au/shop/

Thank you for spending time with me again this month.

Heather


Tuesday, April 4, 2023

Today's Favourite - Dusty Attic Design Team

 Good morning. This time I've gone with a creamy beige theme for my layout to keep it all very neutral and subtle.


I chose the Spring Blooms #4 Dusty Attic Chipboard out to play with this time. I loved the size and how much is in this pack.


I was going to use my Prismacolor pencils to colour them, but after I went through my stash of papers (I'm trying to use up what I've got stored away), I decided to just use really soft colours of ink on them applied with a dauber. I've used brown ink on the branches, a sagey green (yep, technical term) and a soft pink on the petals.

Once I figured out roughly where I wanted everything to go on my page, I started by applying Ranger's Texture Paste Metallic White through the Dusty Attic Distressed Diamonds stencil (DA1480E). I did sprinkle some very fine glitter over the top of the texture paste while it was still wet. Unfortunately, no matter what I tried I couldn't get it to show clearly in a photo.


I then re-assembled my page, but this time I stuck it down using a combination of levels of foam tape to give height. I even pulled out my box of 49 and Market flowers, and my box of old pieces of lace to tuck in and around the page.


The title I very simply just used the same brown ink that I had on the flower branches, and then once dry I added just a hint of gold wax.


Heather


Copictopia Design Team - At Ease

    Hi. Heather again. Today I'm working with this super cute turtle from the At Ease collection. I love his little smiley face! I colou...