Good morning
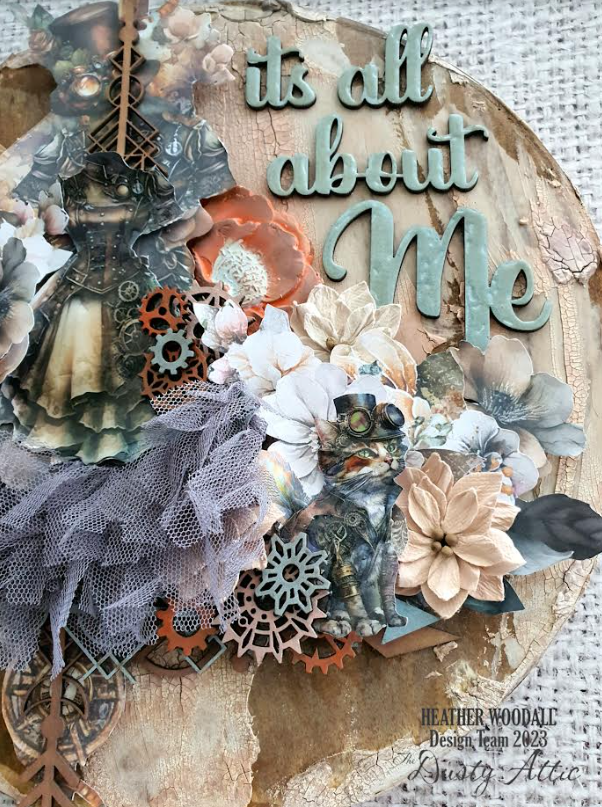
Today I've gone steampunk again. I've had this round wooden serving tray in my stash for a little while to do something with, and this month was the month. I have also taken my inspiration from this month's mood board challenge.


I started by adding some white crackle paste to the base (which is now the top) and around the sides. I helped it crackle by heating it a little. I then used a combination of Lindys Magicals and Distress Stains to get the colouring I wanted. I wasn't aiming for a tree stump look, but I think that's kind of what I ended up with. Happy accident.

I had this beautiful paper collection from Studio 73 which I cut some elements from and added them to the now top of the tray using a combination of levels of foam tape and clear drying glue. I also added some tulle ruffles to the skirt for extra dimension and softeness.
I also added some 49 and Market Flowers just to soften it a little.

The chipboard title "It's All About Me" - DA33419 - https://dustyattic.com.au/product/its-all-about-me/ - was simply inked with Speckled Egg Distress Oxide Ink and then stuck down.

The remaining chipboard pieces were inked with a combination of rusty orange colour distress oxided inks and speckled egg distress oxide ink.. They were then tucked in amongst the layers of the papers and flowers
https://dustyattic.com.au/product/mini-cogs-3/

https://dustyattic.com.au/product/geo-tribal-arrows-2/

https://dustyattic.com.au/product/geo-tribal-arrows-3/

I finished off my project by adding some glossy accents to the title and to the dress and cat.
https://dustyattic.com.au/
Heather