Tuesday, June 20, 2023

Delicate Beauty Altered Book - Dusty Attic Design Team

 Good morning all

I have been working on this altered book for some time now, but decided that it was time to get it finished.

I started with an old book and tore out sections of pages


I then covered pages and the cover (not all the cover, I wanted some of the original book to be seen) with 49 and Market papers from the Irrevocable Beauty range, which I love and have used multiple times.

I then added some photos thanks to google free photo selection.


I then added some fussy cut pieces and pieces from the Laser Cuts pack from the same paper range.


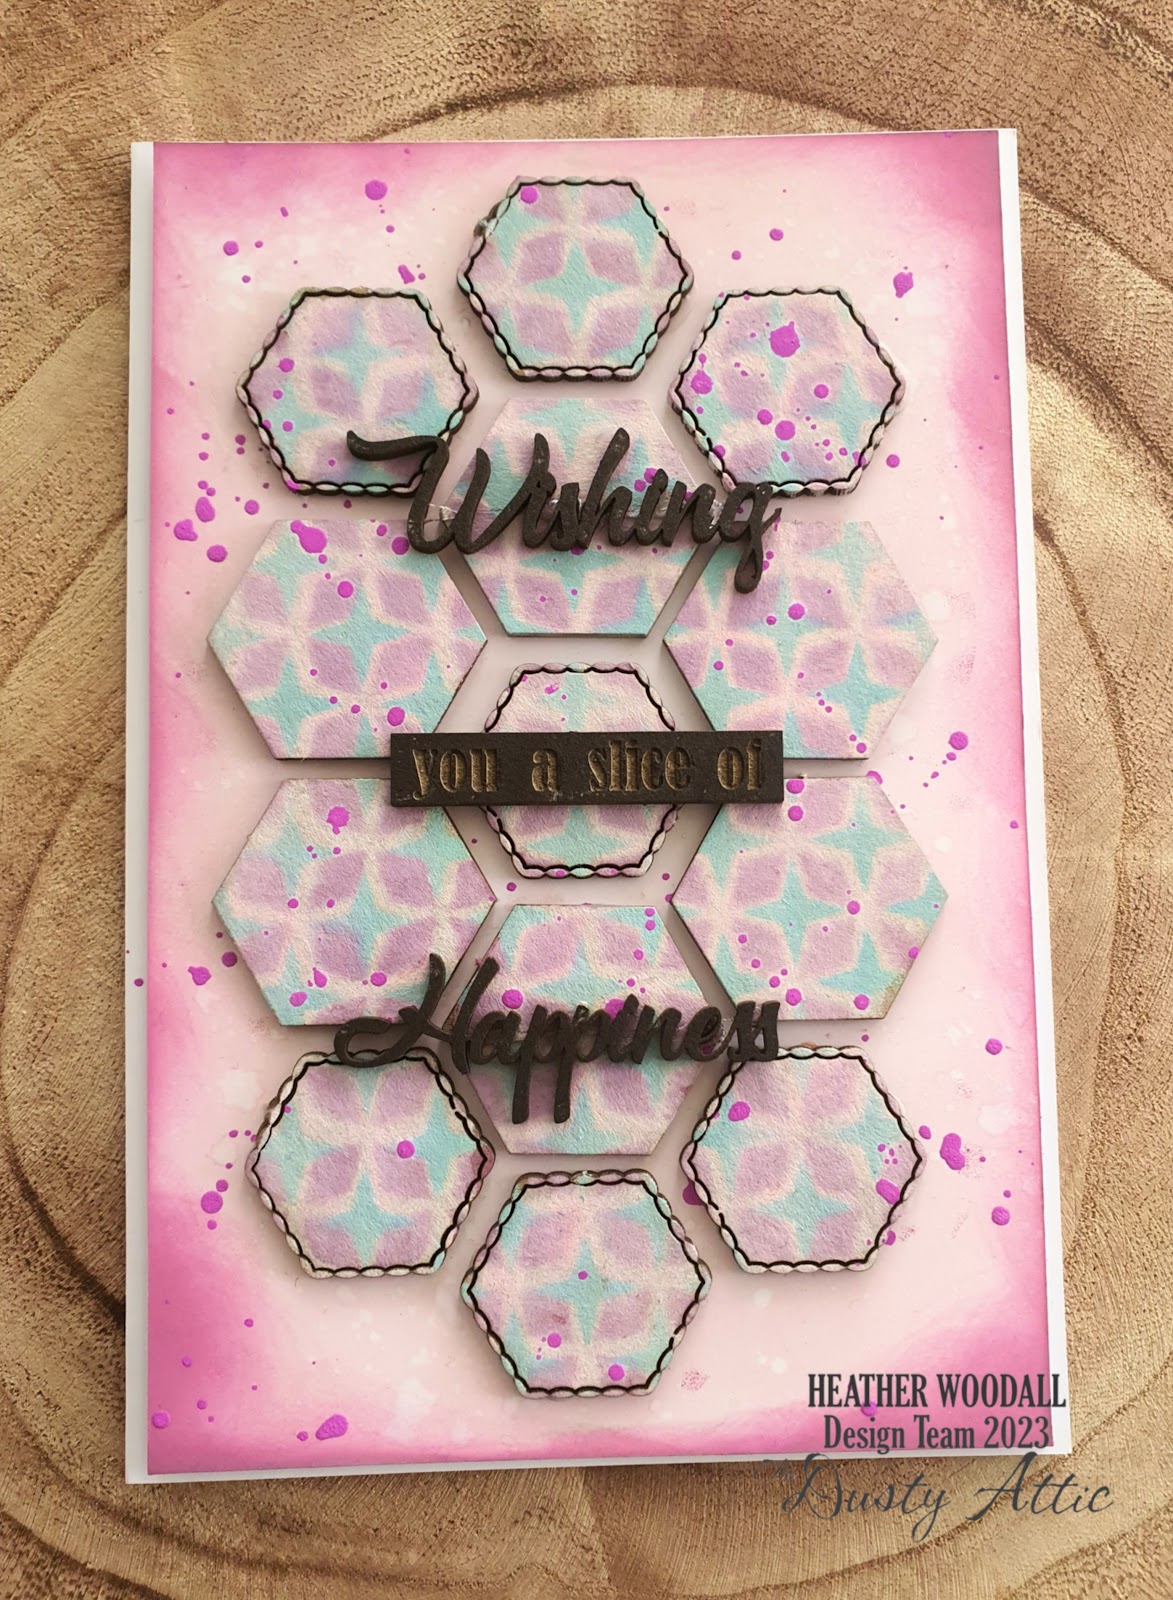
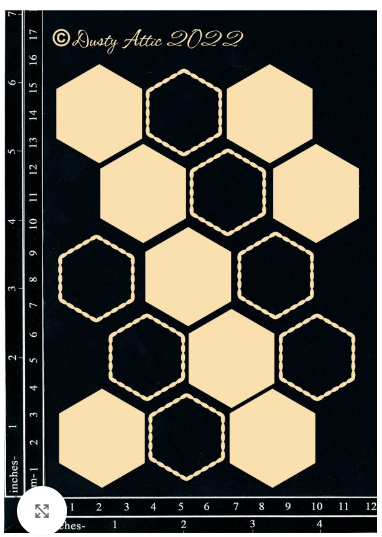
I then chose some chipboard to match. Some I've coloured with coloured pencil to give the layered effect. Other pieces I've just very simply used some good old Crayola textas to colour.


I have left some negative spaces, as I quite like negative space on my work, but it also leaves room if I ever want to come back and add some hand written journalling in the future


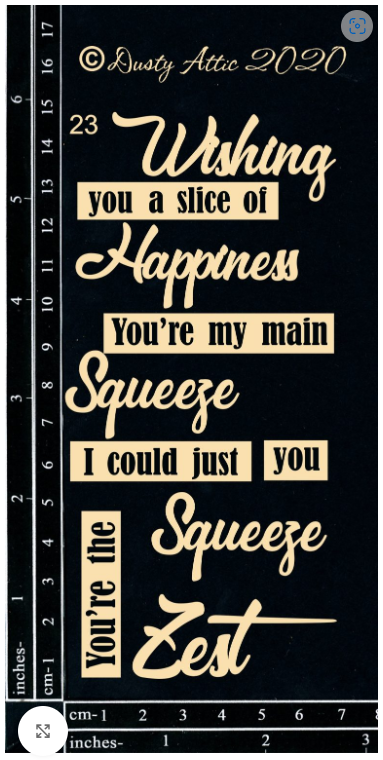
I am going to list all the chipboard here in one go to make it easier this time.

Mini Words #2 - https://dustyattic.com.au/product/mini-words-2/


You can find all of these products and lot lots more at https://dustyattic.com.au/

Heather


Sunday, June 4, 2023

Layering Stencils - Dusty Attic Design Team

 Good morning

This month I am playing with layering stencils with my oxide inks, both on cardstock and on chipboard

The first project is a card.


I have very simply inked the back of the card with a soft pink oxide ink and done a little bit of water splattering to give some texture.

I have then applied the same oxide ink colour to my hexagon chipboard pieces. DA3319 Haxagons #1 - https://dustyattic.com.au/product/hexagons-1/


I have then stuck them to the front of my card using clear drying glue.

Once dry I used a raspberry oxide ink and stencil DA1766 Mosaic - https://dustyattic.com.au/product/mosaic-stencil/ - and a blending tool to add this to the chipboard hexagon pieces


I then used a turquoise green oxide ink, my blending tool and stencil DA1766 Geo Star Stencil - https://dustyattic.com.au/product/geo-star-stencil/ - and laid it over the top of the other one until this stencil masked out the previous so that the star would fit in between the previous pattern.


I then added some fluro purple chalk pen splatter.

To finish it off I used one of the titles from DA2761 Mini Caption #23 - Citrus - https://dustyattic.com.au/product/mini-caption-23-citrus/ - which I have just very simply inked in black in and attach to my card using clear drying glue.


My second project is just a quick journal page (again inspired by Tracy Scott ideas and projects) using the same stencils and the same ink colours.


This time I finished it off using DA1634 Wise Words Stencil #9 - https://dustyattic.com.au/product/wise-words-stencil-9/ - just using a black oxide ink so that it popped on my page.


The border was simply done with a black marker and highlighted with a copper marker. And of course, some hot pink splatter.


All of the chipboard pieces and stencils can be found and purchased on the Dusty Attic website, https://dustyattic.com.au/


Thank you
Heather


Copictopia Design Team - At Ease

    Hi. Heather again. Today I'm working with this super cute turtle from the At Ease collection. I love his little smiley face! I colou...