Friday, October 20, 2023

Amazing Moments - DT Project Dusty Attic

 Good morning

Today I've done a layout using this beautiful photo of my niece from her recent trip to America.

I started with this the beautiful papers and embellishments from 49 and Market.


I used a brand new stencil from Dusty Attic that will be available soon called Postcard Stencil It was used to soften the background a little while giving a little bit of texture.


I have then layered the ephemera and flowers as well as combing in the Lacey Trim Border from Dusty Attic. I've very simply painted the trim in white paint and sanded back the edges a little and then tucked them in amongst the layers.


The title, Amazing Moments, again I've kept it simple this month and painted in the lovely cerulean colour from Paperartsy, and then used my white gel pen to outline.


Thank you
Heather


Wednesday, October 4, 2023

Hippy Retreat - Dusty Attic Design Team

 Good morning

Today I've done 2 projects for you.

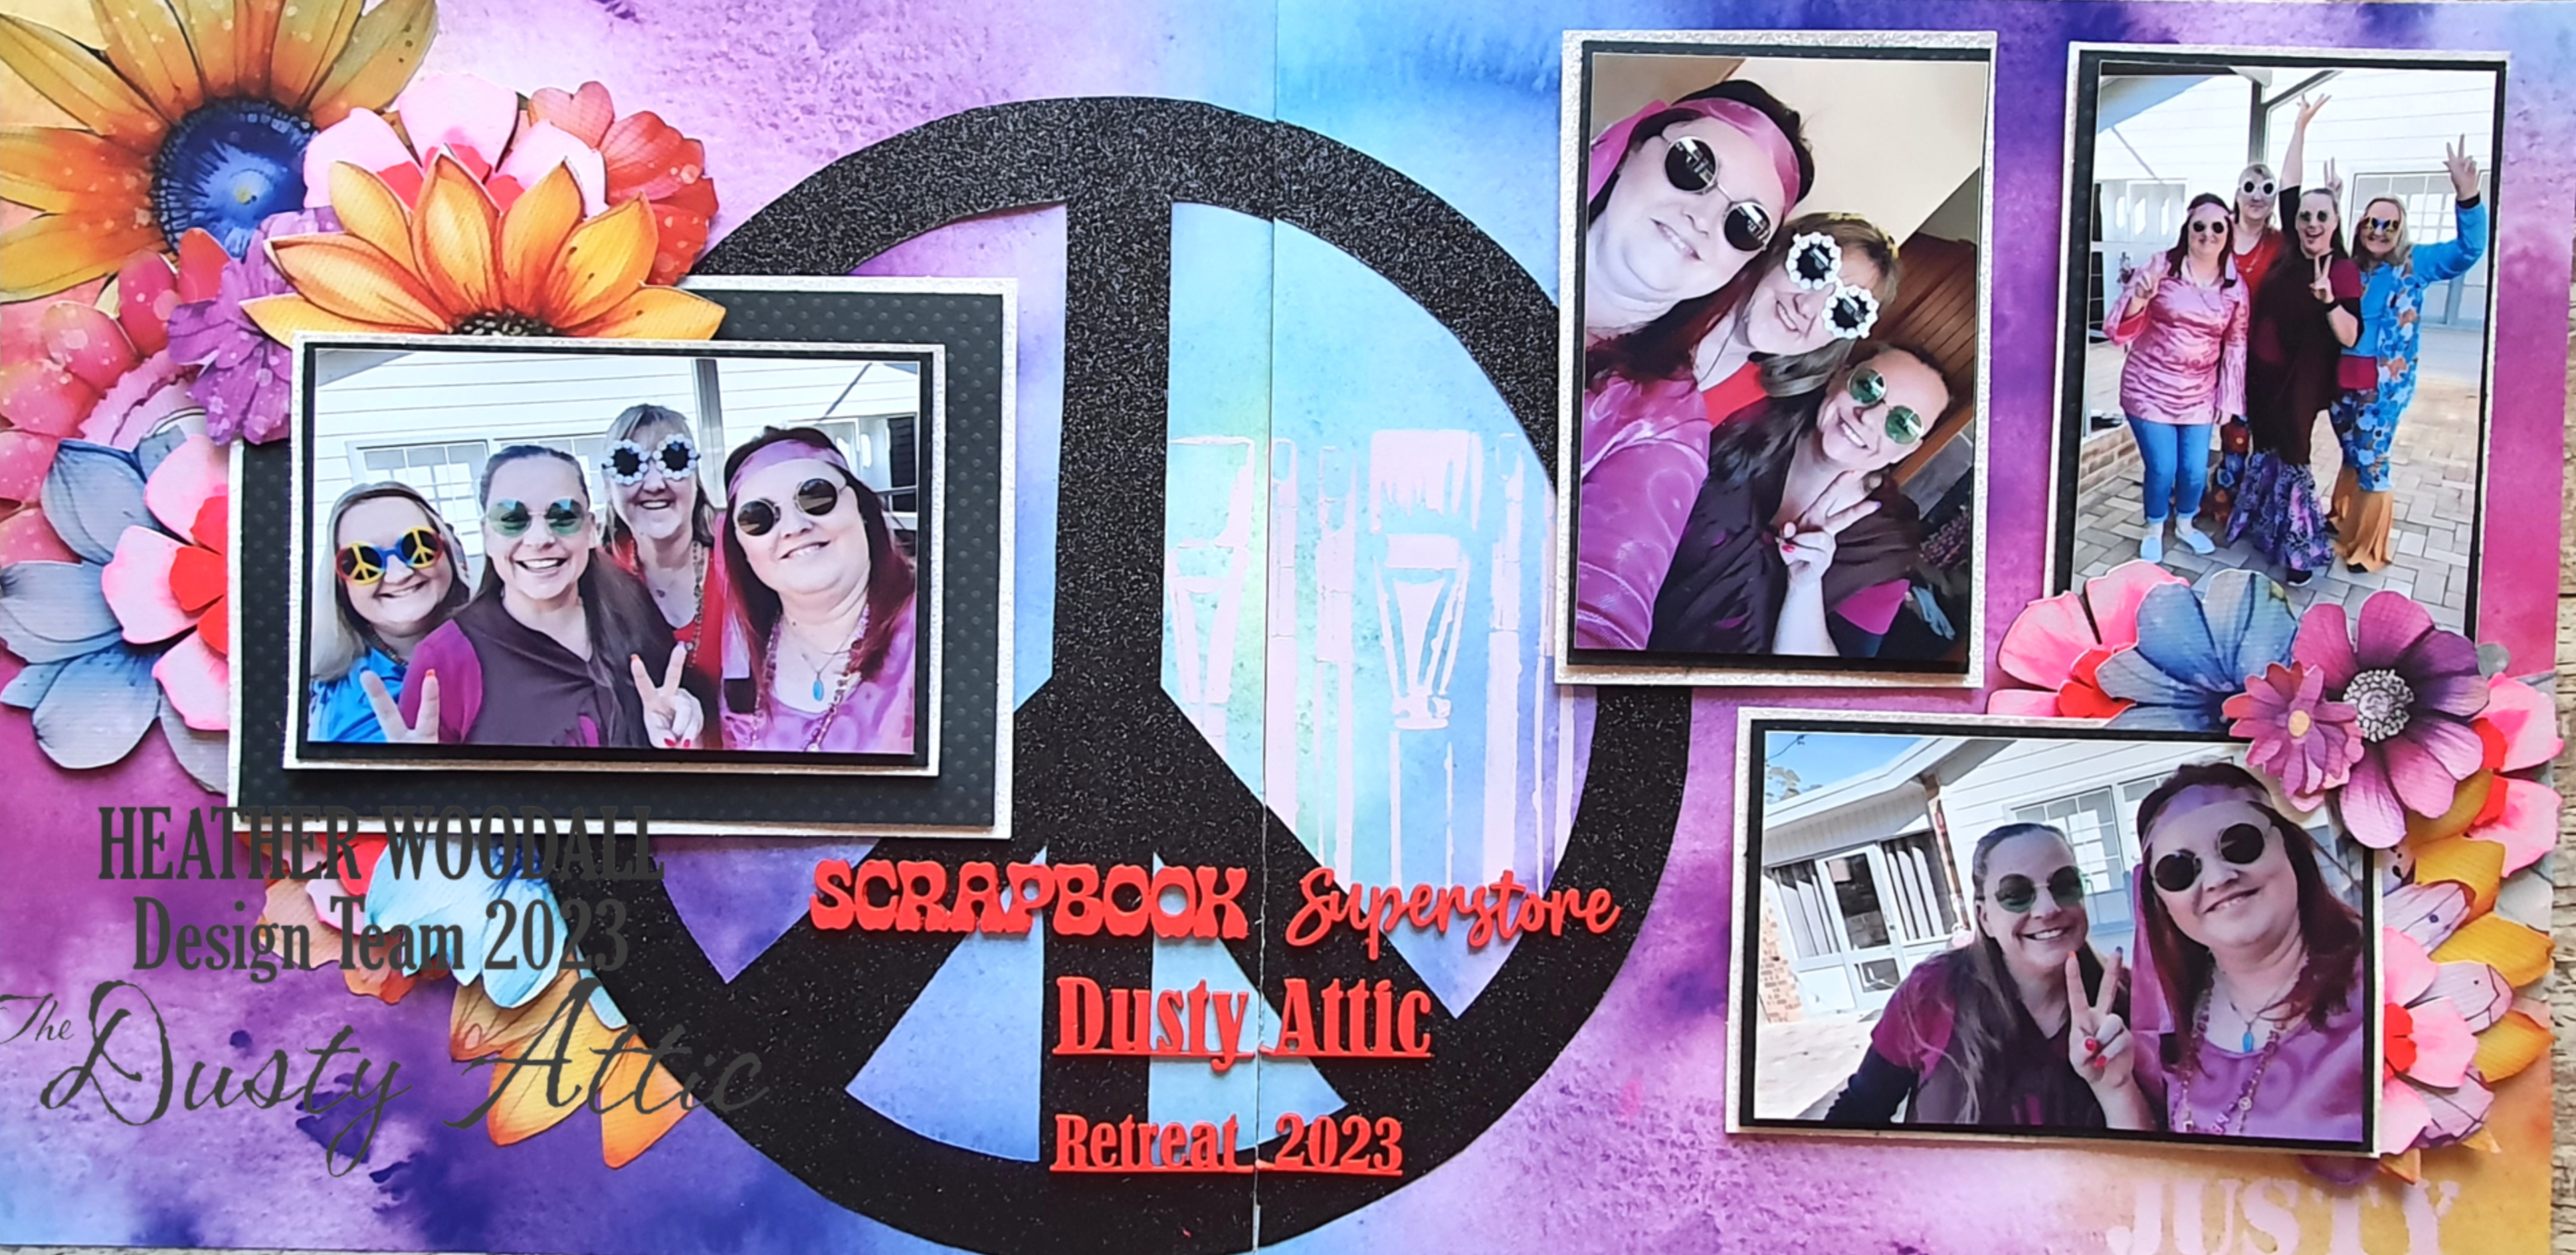
The first one is bright and colourful. It is a double layout with a 70's hippy theme from a recent retreat that I attended.


I started with the super bright and floral papers from PaperRoses. I then created the peace sign using black glitter cardstock. But before sticking it down I added some stenciling in the background, using the Paintbrushes Stencil (DA36011), and some soft pink paint.

While I was stenciling I used ABC Stencil (DA1770) to stencil in the word "Justy" in the bottom right corner. At retreat I was trying to say Jennifer from Dusty Attic and it came out "Justy", and it kinda stuck.


I then painted the Flowers Layers #6 (DA1078) with the same soft pink and then added some hot pink accents to them. and tucked them in amongst my fussy cut paper flowers. To make the packet go further I cut the larger ones in half as you only see half the flower anyway.


To finish off the page I used my hot pink paint to pain the chipboard title that Jen very kindly gave us at retreat.

My second project was a quick and simple Christmas card.


I have used the super cute Aussie Chrismtas range from Studio 73 as my starting point, and in my Dusty Attic basket I had a couple of Creative Cluster #6 packs that had been partly used, but still had the trees. So I used a combination of green, brown light/sage green and a gold to paint them, and of course used my gold paint for the starts on top. The Christmas number plate, I used black paint all over and into the word, then lightly ran some gold paint over the top.


Thank you again
Heather


Saturday, September 16, 2023

Merry Christmas Layout - Dusty Attic Design Team

 Good morning

Well, I've gone and started my Christmas projects, and I couldn't resist scrapping this super cute Christmas photo.

I've used The Christmas Time range from Art Alchemy as my base starting point. I've kept the papers pretty simple so that the photo and the chipboard are the main focus. I've just added a little bit of fussy cutting in the bottom right corner. and finished that corner off with some glitter, I mean, who wouldn't, it's a Christmas project.

I've then done some gold foiling on the Christmas baubles. I've done it so that it's not completely set so that it looks old and some of the natural chipboard is showing through.

The rest of the chipboard I have coloured with my Prisma Colour Pencils, and some parts I've added Glossy Accents or Kindy Glitz to, to add some shine. I've just then glued them to my page laying it out to look like a full wreath with hanging baubles from the top of my page. I have attached them using clear drying glue.


Thank you again

Heather


Monday, September 4, 2023

Wildflowers Stencil Cards - Dusty Attic Design Team

 Good morning

Today I've done a few cards for you. I think it must be stencil month, I know that Deb did some beautiful cards using Dusty stencils as well. 

I've kept my cards neutral in the black and grey tones.


For the background on all 3 cards I've used different shades of greys, beige and black Paperartsy chalk paints and some Dusty Attic stencil.

The first step was using the Marrakesh Stencil (DA2614) in a random pattern, I didn't want it all over the card, I wanted some negative space left.


I then used Wildflowers #2 Stencil and a medium grey across the bottom of 2 of the cards


Using a darker shade of grey I then used Wildflowers #1 Stencil across the bottom of 2 of the cards


I then used 2 different Wise Words Stencils to add the words at the top of all 3 cards using black paint


On the 3rd card I used Spider Chrysanthemum (DA1043) chipboard as my focal point. You have probably figured out by now that I love to colour using my Prismacolour Pencils, which is what I have done again this time, but again sticking with the grey/black/white tones.


All of the chipboard and stencil products can be purchased at the Dusty Attic website - https://dustyattic.com.au/

Thank you for hanging out with me for a while again this month.

Heather


Sunday, August 20, 2023

Weekend - Dusty Attic Design Team

 Good morning

Today I've done another layout for you, it's a bit busy, but love how the chipboard jumps off the page.


I started with this seaside range from Art Alchemy and fussy cut all the elements I wanted and placed them on my page. I added some white cardstock and corrugated board to some dimension and texture.

Tucked in subtly is the Juliette Balcony #2 - https://dustyattic.com.au/product/juliette-balcony-2/ -  it has been inked with white ink, but just 1 layer so that it stayed this greyish colour from the chipboard coming through.


I then used some more of the leaves from Leafy Frame Set #3 - https://dustyattic.com.au/product/leafy-frame-set-3/


For these I've coloured with my Prisma Colour pencils and added some scribble lines around the edges with a brown Crayola Texta.


To finish it off, and to try and soften it, I added some flowers, gauze, and art stones.

All of the chipboard pieces can be found on the Dusty Attic website - https://dustyattic.com.au/

Heather


Copictopia Design Team - Bunny Trails

   Good morning Today I am using the Bunny Trail stamp set Again, I have kept the card very simple, but everything that is colour is copic m...