Friday, August 4, 2023

Simple and Perfect

 Good morning all

I've gone back to a scrapbook page and kept it "Simple and Perfect" - although if I'm honest not what I had in mind when I started the page.


I've used papers from Art Alchemy, I loved the earthy natural tones of these papers. I've attached the papers to the base page and used Light and Fluffy (texture paste) and the Script Stencil to one layer of the papers subtle layer.

https://dustyattic.com.au/product/creative-script-stencil/


I've then added a 5"x7" photo that I've lightly sanded the edges of the photo.


Chipboard DA1143 Wildflower #3 - I've very simply used good old Crayola textas to colour in the different parts of the chipboard with white gel pen and glitter for the buds.

https://dustyattic.com.au/product/wildflower-3/


I have then finished off the page by adding some flowers and some fussy cut butterflies and fussy cut flowers.

The title, DA3339 Simple and Perfect, again I've used my Crayola textas and some glossy accents to decorate.

https://dustyattic.com.au/product/simple-and-perfect/


All chipboard and stencils can be purchased on the Dusty Attic website - https://dustyattic.com.au/

Thank you again

Heather


Thursday, July 20, 2023

Book Nook Storage Stand - Dusty Attic Design Team

 Good morning all

Today I've turned the Book Nook #1 into a storage stand for my Dusty Attic Stencils


I've seen a few of the Dusty Attic design team members do some of the most amazing book nook projects over the past few months, so thought I'd do something completely different and turn it into something practical, and it is a perfect size for storing my Dusty stencils or Dusty chipboard

I started by adding the metal feet to each corner and the chipboard border strip across the bottom of the 2 long edges


I then painted the whole box, including the inside in this beautiful Duck Egg Chalk paint from artisan Paint, from Secon Time Round NSW. After painting it, I applied the gorgous transfers also from Second Time Round NSW


I then added a little bit of wax to the feet and chipboard border strips and edges of the box.

The box was then sealed to protect it.

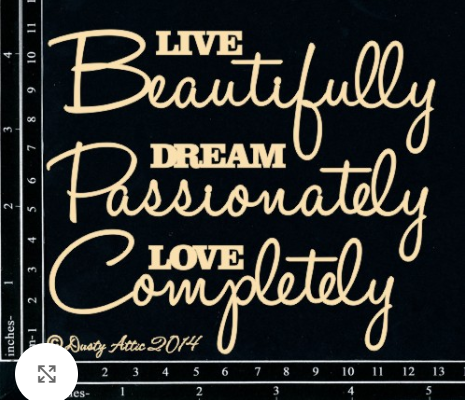
To finish it off I added the metal handles on the sides, which have also had some silver was applied to them, And I had this title/quote chipboard, Live Beautifully... which I thought was perfect for the images on my box. I did go backwards and forwards a few times with the finish of these titles, and in the end I decided to just to keep them simple and white.


All of the chipboard pieces including the box can be bought through the Dusty Attic website:


Thank you

Heather


Tuesday, July 4, 2023

Find The Beauty In The Everyday - Dusty Attic Design Team

 Good morning

I've gone back to a scrapbook page this time using one of my favourite paper brands, 49 and Market. It is the perfect complement for the Dusty Attic chipboard


The photo was taken in a night market in Bangkok about 5 years ago (just seems like yesterday), and I took the circular shape of the ferris wheel and the black and white photo as my inspiration

I started by painting and covering some circles from DA2462 Circle Medley. These were attached to the base page as my starting point to kind of reflect the circular shape of the ferris wheel in the photo


I then layered lots of layers of paper and collectables under and in and around my photo

Drawing inspiration from the black and white in the photo, I added some of the new film strips from 49 and Market, layered with the DA0934 Filmstrip chipboard, which I just very very simply inked with black ink


I then added the fairy lights, DA1362 Party Lights #2. These were coloured with a combination of gel pens both flat and metallic colours to give the shine of a light


To finish off the page I added the title "Find The Beauty in the Everyday", DA2020. I painted it with a bright pink and added some white gel pen accents


To finish it off I tucked in a few flowers and added some rub ons as a subtle background

All the chipboard products can be found at https://dustyattic.com.au/

Thank you again for following me

Heather


Tuesday, June 20, 2023

Delicate Beauty Altered Book - Dusty Attic Design Team

 Good morning all

I have been working on this altered book for some time now, but decided that it was time to get it finished.

I started with an old book and tore out sections of pages


I then covered pages and the cover (not all the cover, I wanted some of the original book to be seen) with 49 and Market papers from the Irrevocable Beauty range, which I love and have used multiple times.

I then added some photos thanks to google free photo selection.


I then added some fussy cut pieces and pieces from the Laser Cuts pack from the same paper range.


I then chose some chipboard to match. Some I've coloured with coloured pencil to give the layered effect. Other pieces I've just very simply used some good old Crayola textas to colour.


I have left some negative spaces, as I quite like negative space on my work, but it also leaves room if I ever want to come back and add some hand written journalling in the future


I am going to list all the chipboard here in one go to make it easier this time.

Mini Words #2 - https://dustyattic.com.au/product/mini-words-2/


You can find all of these products and lot lots more at https://dustyattic.com.au/

Heather


Sunday, June 4, 2023

Layering Stencils - Dusty Attic Design Team

 Good morning

This month I am playing with layering stencils with my oxide inks, both on cardstock and on chipboard

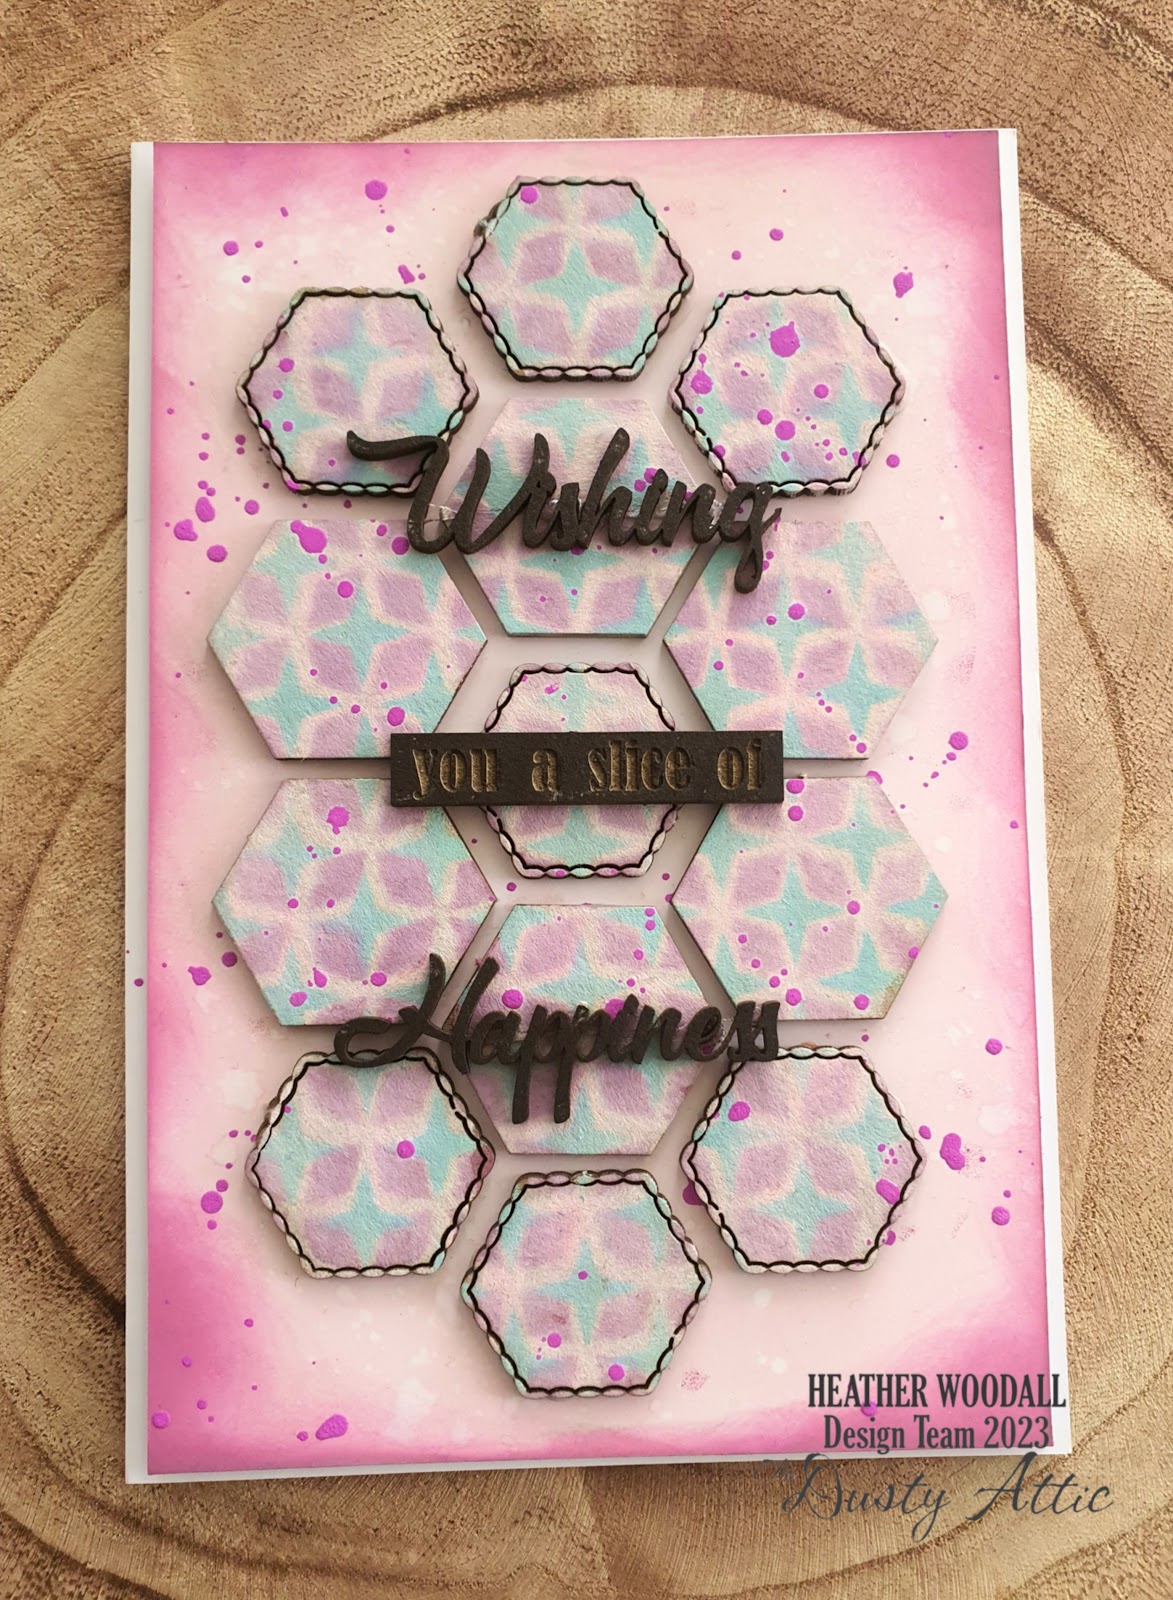
The first project is a card.


I have very simply inked the back of the card with a soft pink oxide ink and done a little bit of water splattering to give some texture.

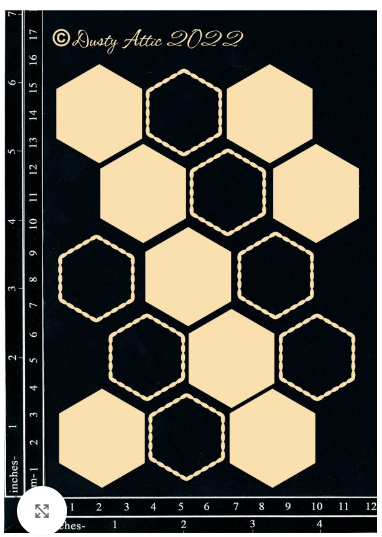
I have then applied the same oxide ink colour to my hexagon chipboard pieces. DA3319 Haxagons #1 - https://dustyattic.com.au/product/hexagons-1/


I have then stuck them to the front of my card using clear drying glue.

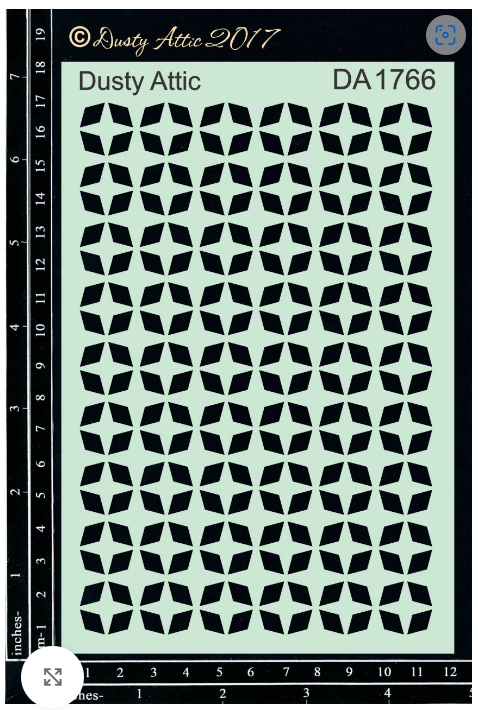
Once dry I used a raspberry oxide ink and stencil DA1766 Mosaic - https://dustyattic.com.au/product/mosaic-stencil/ - and a blending tool to add this to the chipboard hexagon pieces


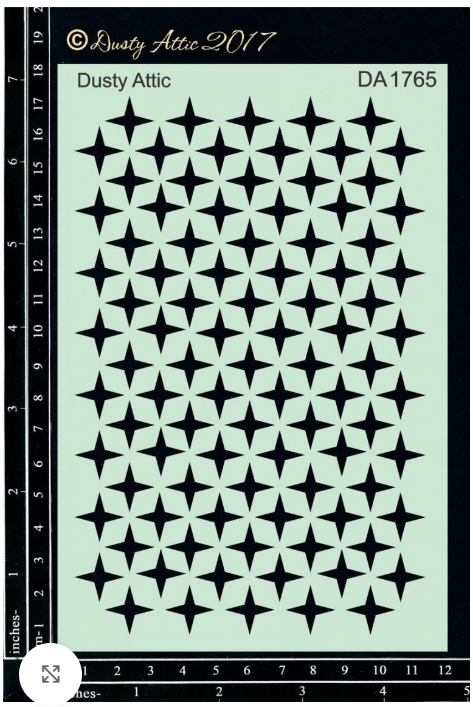
I then used a turquoise green oxide ink, my blending tool and stencil DA1766 Geo Star Stencil - https://dustyattic.com.au/product/geo-star-stencil/ - and laid it over the top of the other one until this stencil masked out the previous so that the star would fit in between the previous pattern.


I then added some fluro purple chalk pen splatter.

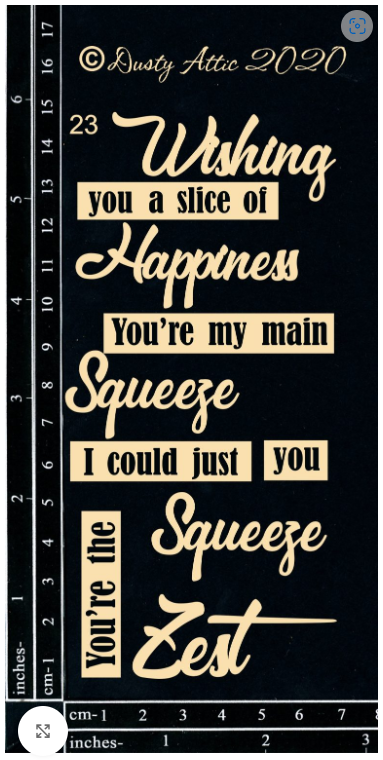
To finish it off I used one of the titles from DA2761 Mini Caption #23 - Citrus - https://dustyattic.com.au/product/mini-caption-23-citrus/ - which I have just very simply inked in black in and attach to my card using clear drying glue.


My second project is just a quick journal page (again inspired by Tracy Scott ideas and projects) using the same stencils and the same ink colours.


This time I finished it off using DA1634 Wise Words Stencil #9 - https://dustyattic.com.au/product/wise-words-stencil-9/ - just using a black oxide ink so that it popped on my page.


The border was simply done with a black marker and highlighted with a copper marker. And of course, some hot pink splatter.


All of the chipboard pieces and stencils can be found and purchased on the Dusty Attic website, https://dustyattic.com.au/


Thank you
Heather


Copictopia Design Team - Bunny Trails

   Good morning Today I am using the Bunny Trail stamp set Again, I have kept the card very simple, but everything that is colour is copic m...