Thursday, May 4, 2023

A Colouring Card - Dusty Attic Design Team

 Good morning

Today I've just done 1 card, but there was many hours in this card. As with a lot of my brighter more artsy projects, it has been inspired by techniques that I learnt from the lovely Tracy Scott


I started with some white cardstock and my Dusty Attic Stencil DA1318 Warped Flower Stencil. I laied the stencil on my card front then traced it with a lead pencil


I then used my Prismacolor Pencils to colour in each segment that I had traced. Each segment has 4 different shades of pencil that was layered 3 times each.


I then used a black gel pen to colour in all the white area that was left. You could also use a fine paintbrush and black paint to do this. I also added some white gel pen accents to each coloured in section.


I get asked a lot about white gel pens. My favourite is the Uni-Ball Signo Broad White Gel Pen


The flourish chipboard is DA3327 Botanic Accents. I simply used a gold paint pen to colour it in


The title is from the pack DA1291 Mini Captions #2, and I used a hot pink chalk pen to colour it in


All of the chipboard and stencil used on this card can be found on the Dusty Attic website, https://dustyattic.com.au/

Well that's it for me again this time. I hope I've inspired you to look at your stencils in a different way.

Heather


Wednesday, April 19, 2023

Floral Clock - Dusty Attic Design Team

 Good morning

This time I decided to do something other than a scrapbook page. I've had this clock for a little while so thought it would be a great base for these really beautiful papers and chipboard pieces.


I started by taking the mechanism off the clock


I then chose my base page, and traced around the clock onto it and cut it out

To attach the paper to my page I used Stamperia Mixed Media Glue


Once dry I then gave it a layer Collage Medium to seal it


I then used Dusty Attic Stencil DA1757 Clockworks #2 and some Light and Fluffy texture paste on the background of the clock


I then heat dried the texture paste and gently applied some Prima Wax over the top


I then prepared the chipboard pieces that I needed for this project. From the DA2245 Twisted Iron #2 I just used 4 pieces off it to have as the marking points for 12 o'clock, 3 o'clock, 6 o'clock and 9 o'clock. The pieces were painted using Paperartsy paints and the Twisted Iron pieces also had some wax applied over the top. These pieces were then attached to the clock at 12, 3, 6, and 9 o'clock using clear drying glue


I then fussy cut out the other elements that I wanted to use from the paper pack and attached to the clock using a combination of glue and foam tape, remembering to keep the height below the hands so that they are able to turn. 

Once these was done I then attached the Mystic Flourish chipboard pieces to the clock using clear drying glue


All of the chipboard pieces can be purchased at https://dustyattic.com.au/shop/

Thank you for spending time with me again this month.

Heather


Tuesday, April 4, 2023

Today's Favourite - Dusty Attic Design Team

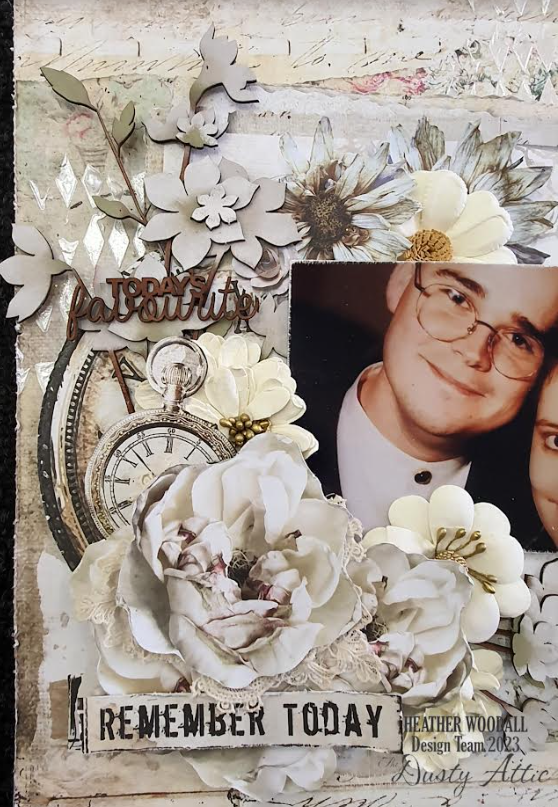
 Good morning. This time I've gone with a creamy beige theme for my layout to keep it all very neutral and subtle.


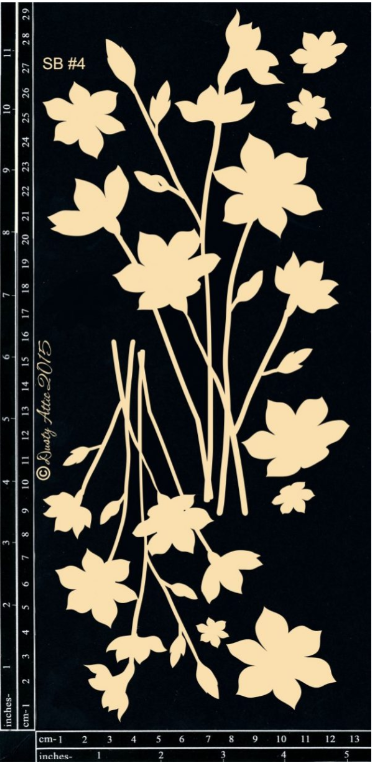
I chose the Spring Blooms #4 Dusty Attic Chipboard out to play with this time. I loved the size and how much is in this pack.


I was going to use my Prismacolor pencils to colour them, but after I went through my stash of papers (I'm trying to use up what I've got stored away), I decided to just use really soft colours of ink on them applied with a dauber. I've used brown ink on the branches, a sagey green (yep, technical term) and a soft pink on the petals.

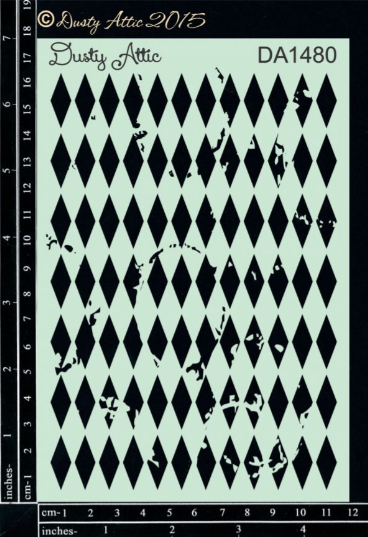
Once I figured out roughly where I wanted everything to go on my page, I started by applying Ranger's Texture Paste Metallic White through the Dusty Attic Distressed Diamonds stencil (DA1480E). I did sprinkle some very fine glitter over the top of the texture paste while it was still wet. Unfortunately, no matter what I tried I couldn't get it to show clearly in a photo.


I then re-assembled my page, but this time I stuck it down using a combination of levels of foam tape to give height. I even pulled out my box of 49 and Market flowers, and my box of old pieces of lace to tuck in and around the page.


The title I very simply just used the same brown ink that I had on the flower branches, and then once dry I added just a hint of gold wax.


Heather


Sunday, March 19, 2023

I'm a Mum Box - Dusty Attic Design Team

 Hi all

This is not how I would normally start a blog post, but feel that it is important. I am wanting to put here a trigger warning - I will be talking about miscarriage and infertility and some photos from my experience.

With Mother's Day approaching I was talking with Shelley at the scrapbook store about classes, and we came up with this idea for a box mostly concentrated around the 1st trimester of a pregnancy, but it has been designed for every female that has been pregnant, whether your pregnancy ended at 10 weeks or full term. Whether you have full arms or empty arms. It is somewhere to store some of those memories of your/my pregnancy experience.


I started with the Dusty Attic Cigar Box DA0981 as the base. It was assembled and painted in a soft dusty pink/mauve colour to match the beautiful soft papers from Studio 73. While I had my paints out, I also painted my other chipboard pieces (which I will list down further)


I then covered the front and side of the box with patterned paper. Then I glued on the Floral Frame DA1528 which had been painted in the same colour. Please note that Jen very nicely adapted this frame as a one off to match the box for us.


I then layered on the Christmas Berries DA3143 which had been painted in white


The "I'm A Mum" title which I have painted in a slightly darker dusty pink than the box was also a special order, but I do believe Jen will be adding this to her website soon if you wish to purchase it.

I then started adding some layers of fussy cut flowers, a shadow for the lady in the middle, and finished off the title with glossy accents.


I then moved to the inside of the box - here is where my story will become very obvious very quickly. I tell and share my story, not because I want sympathy or people to say how strong I am, but because I want to help break the taboo-ness around the word "miscarriage" and "infertility", I want to help other woman feel like they too can tell their stories and talk about their pregnancies and babies, they were just as real as a pregnancy that went full term and ended with a live birth.


I had multiple pregnancies (7 to be exact) and all ended in miscarriage. This box, although very difficult to actually do, I am a Mum even if I struggle identify as that, and this box is about being a mum, not so much about the baby itself.


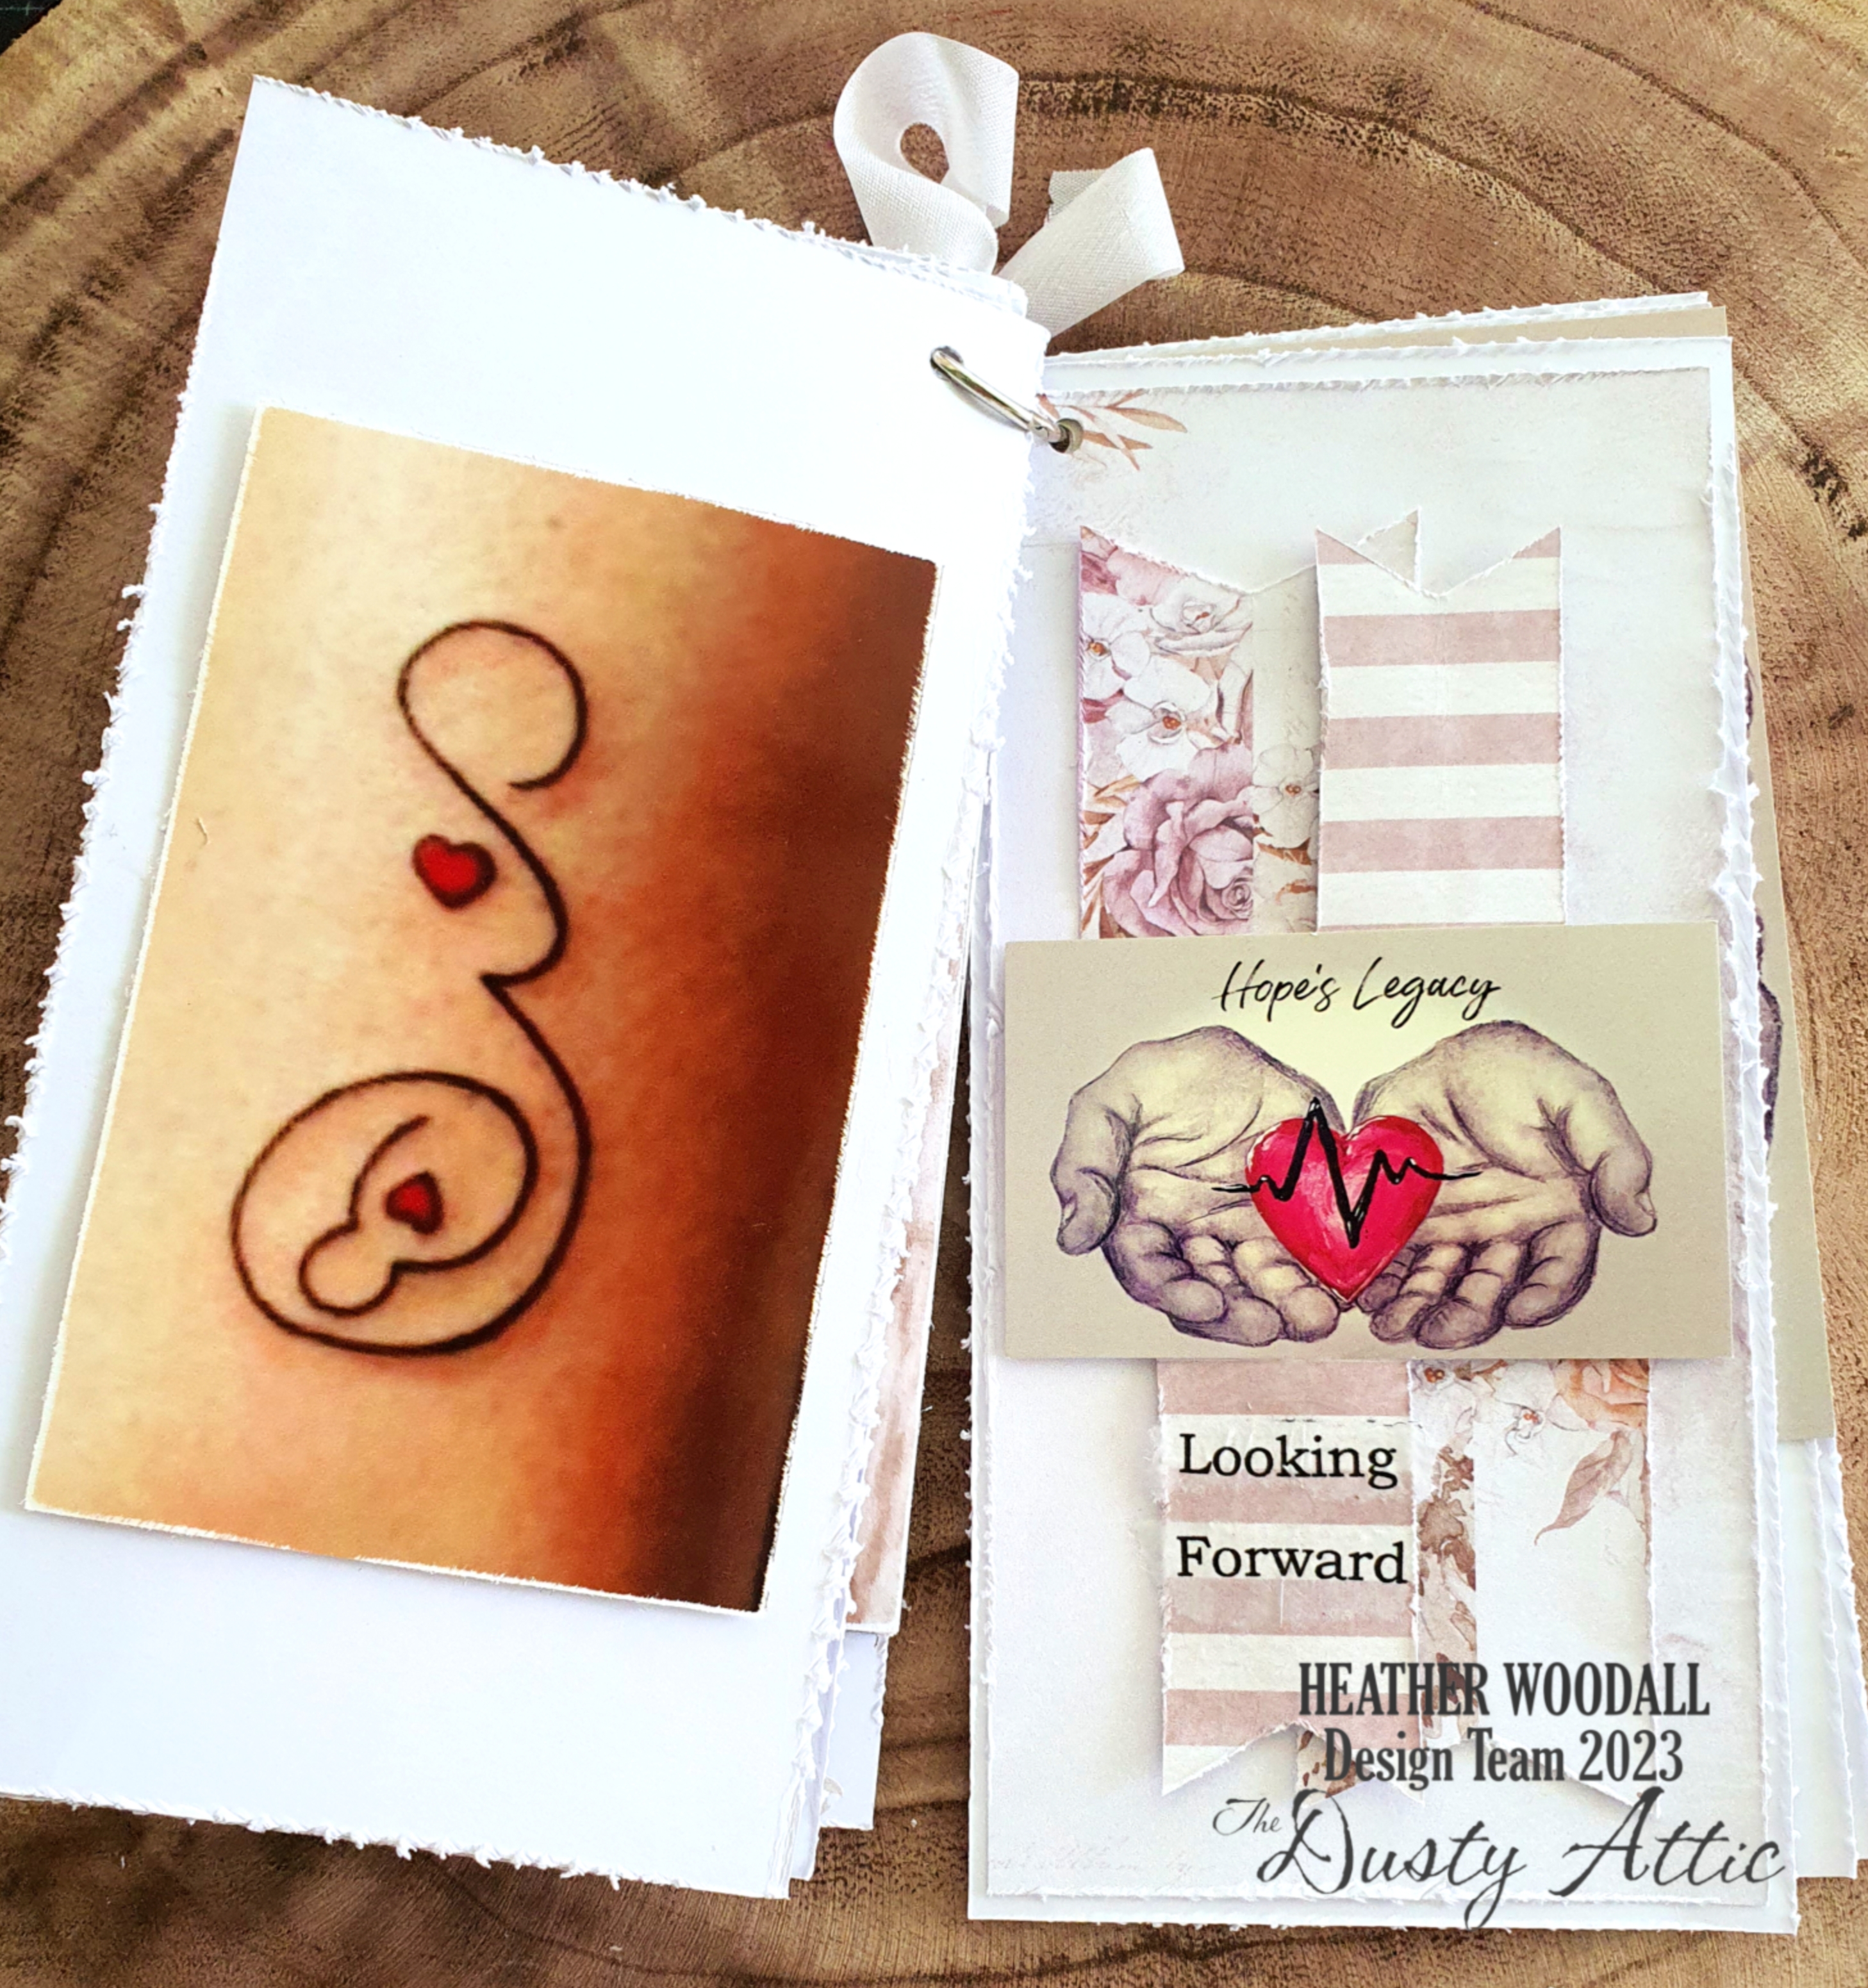
Inside I created tags that are about a 1/4" smaller than the size of the box so that they fit nicely inside and joined with a clip ring. Each tag tells a little bit about my story, from ultrasounds, to baby bumps, to the words that every female doesn't want to hear "there is no heartbeat", through to the ways that I found to move on and help others. 

At the end I have some empty tags, although my motherhood story may seemed to be finished, you never know what will happen in the future, so have left some empty tags and some patterned paper so that I can keep adding.


If you are interested in doing this box in a class, it will be held at the Scrapbook Superstore on Friday 5th May and Saturday 6th May. Please give Shelley a call at the store on 4722 2152 to find out more details and to book your spot.

I know that this has been a confronting blog post, but I hope that it has reached someone that needs to be reached.


Thank you
Heather


Saturday, March 4, 2023

Rest Relax Recharge and Repeat - Dusty Attic

 Good morning everyone

This month I am using these beautiful papers that I found at a recent craft show to compliment my Dusty chipboard pieces.

I kept it deceptively simple this time, the papers and chipboard did need me to do much, they were already amazing.


I started by fussy cutting the pieces that I wanted from the patterned pages and then layering them up to create the page.

I then used Tim Holtz's new color, Lost Shadow on the leaves (DA2535) and feather (DA2733) chipboard pieces.


After that I simple painted the title with a couple shades of dusty pink chalk paint, then applied glossy accents to the title (DA3340) and attached it to my page


I hope that you all find time to Rest, Relax, Recharge and Repeat this week, and of course some time to craft.

Heather


Copictopia Design Team - Bunny Trails

   Good morning Today I am using the Bunny Trail stamp set Again, I have kept the card very simple, but everything that is colour is copic m...